

- How to use Otto to write best practice Dags
- Writing a spec with defined success criteria
- Letting an agent run in a loop to iteratively write Dags
Other ways to learnThere are multiple resources for learning about this topic. See also:
- Blog post: Best practices for writing Airflow Dags with AI.
Assumed knowledge
To get the most out of this guide, you should have:- A local Airflow environment. See Run Airflow locally.
- An agent that knows about your Airflow environment. See AI context for data engineering.
- Basic familiarity with an AI coding agent harness, such as Claude Code or Cursor.
Working with Otto
LabsThis feature is in Labs.
Work with Otto directly
You can work with Otto in the Astro UI, in the Astro IDE, through an API endpoint, or using the Astro CLI. This guide focuses on how to use the Astro CLI to interact with Otto. For other interfaces, see the Otto documentation. To interact with Otto from your terminal:- Install the Astro CLI. Make sure you are on the latest version.
-
Sign in to your Astro account with
astro login(a free trial is available). This is necessary to work with Otto because Otto uses an LLM gateway hosted by Astronomer. -
Make sure you are in your Astro project directory, or create a new one by running
astro dev init. -
Start your Airflow project by running
astro dev start.
If your Dag connects to other systems, you’ll need to provide the credentials in Airflow connections. See Manage connections in Apache Airflow for general information on Airflow connections, and Manage Airflow connections, variables, and environment variables for how to add Airflow connections to Astro Deployments.
-
Run
astro ottoto start your interactive Otto session in the terminal. Type/modelto choose your preferred model.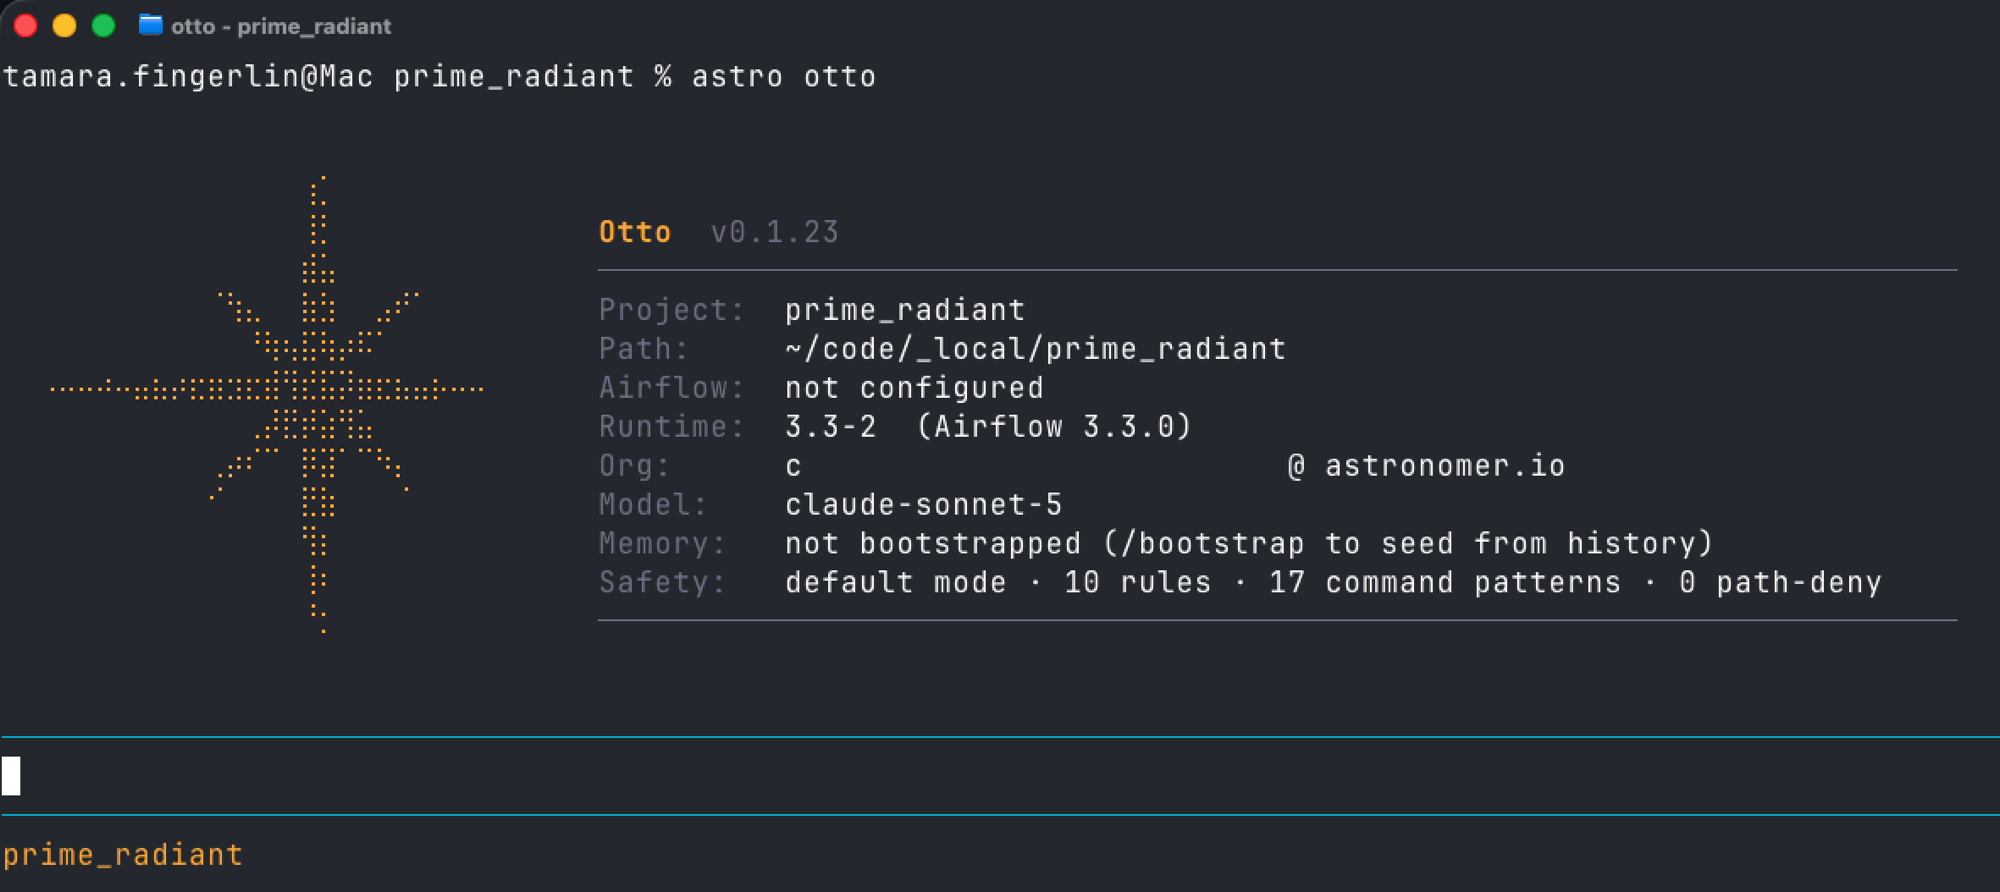
- Ask Otto to write you a spec and describe the pipeline you’d like to create in natural language, for example, “Write me a spec to have an AI agent answer support tickets”.
-
Answer any clarifying questions Otto asks.
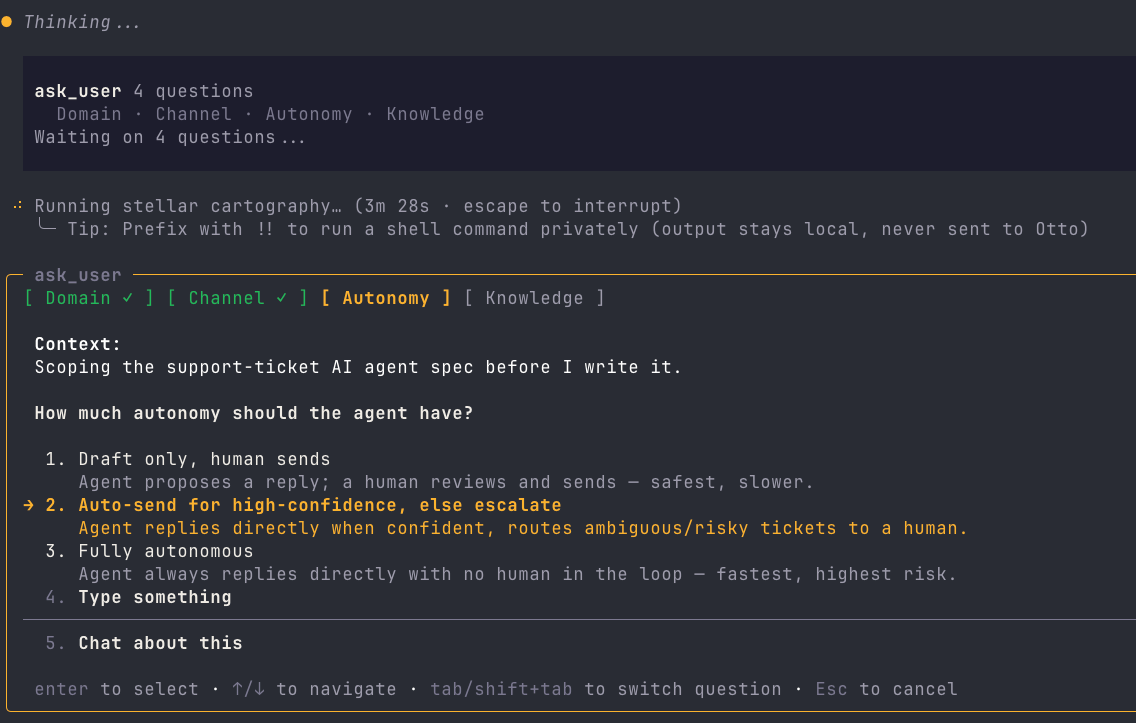
-
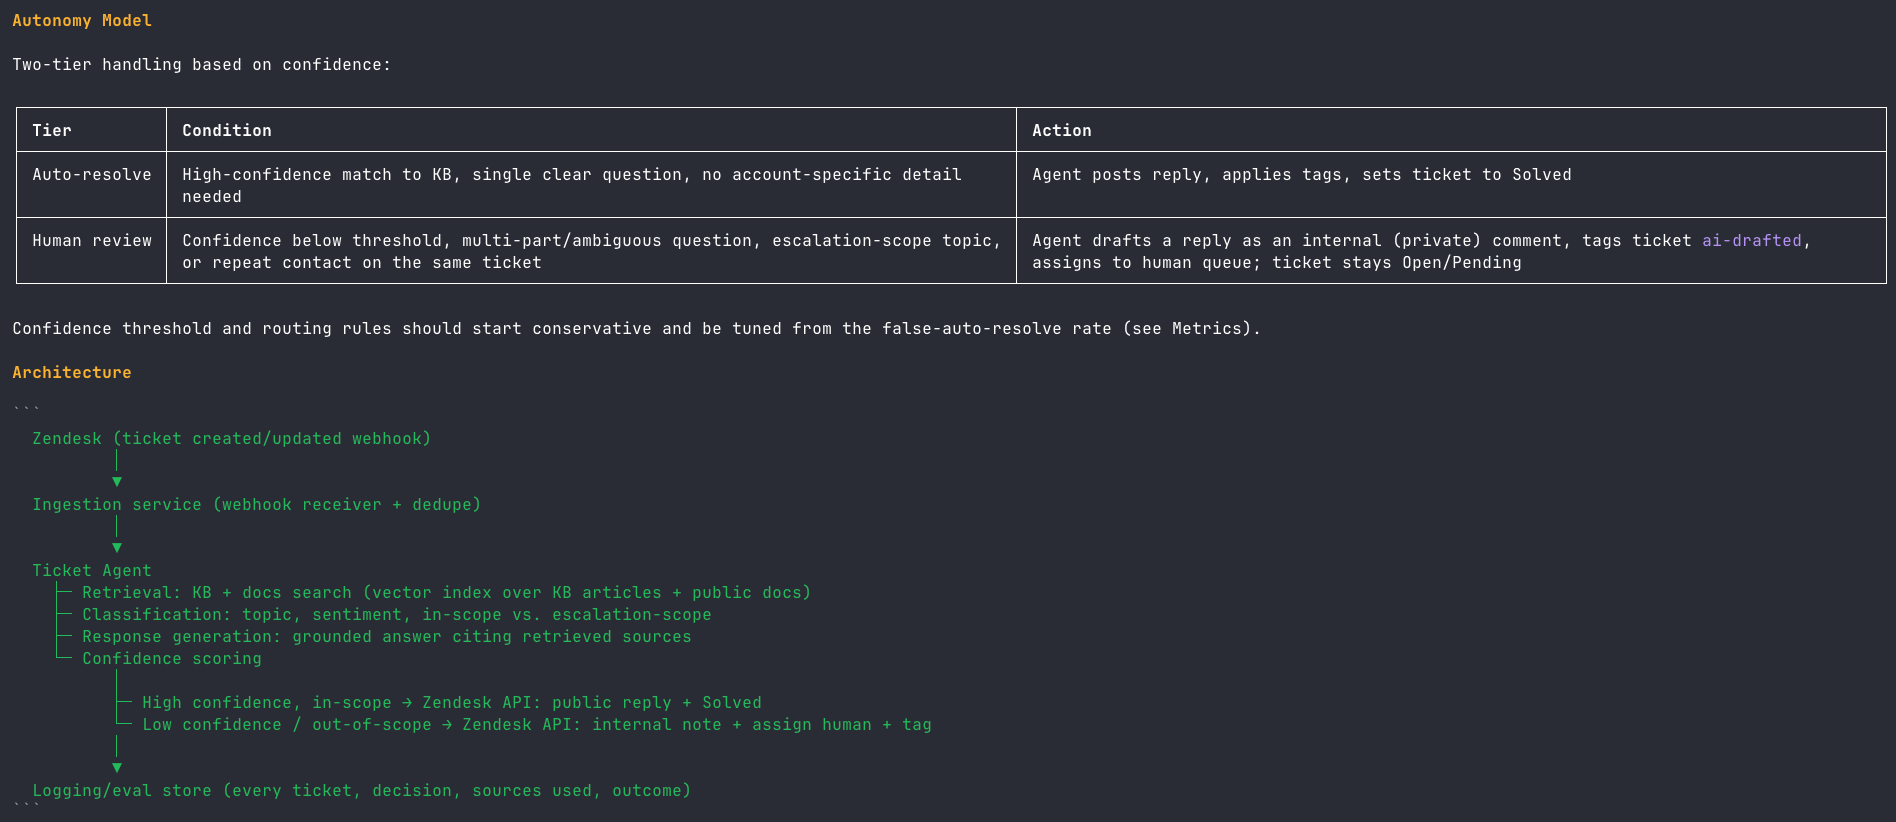
Read the spec Otto writes for the planned Dag and suggest any necessary changes. The following is a section of a detailed Otto-written spec for an AI orchestration pipeline.
-
Once you are happy with the spec, tell Otto to implement it. Otto automatically develops in an agentic loop, testing its own changes with
astro dev parse, while being aware of your current Airflow environment, following the conventions in your project, and having access to all relevant Airflow-related skills.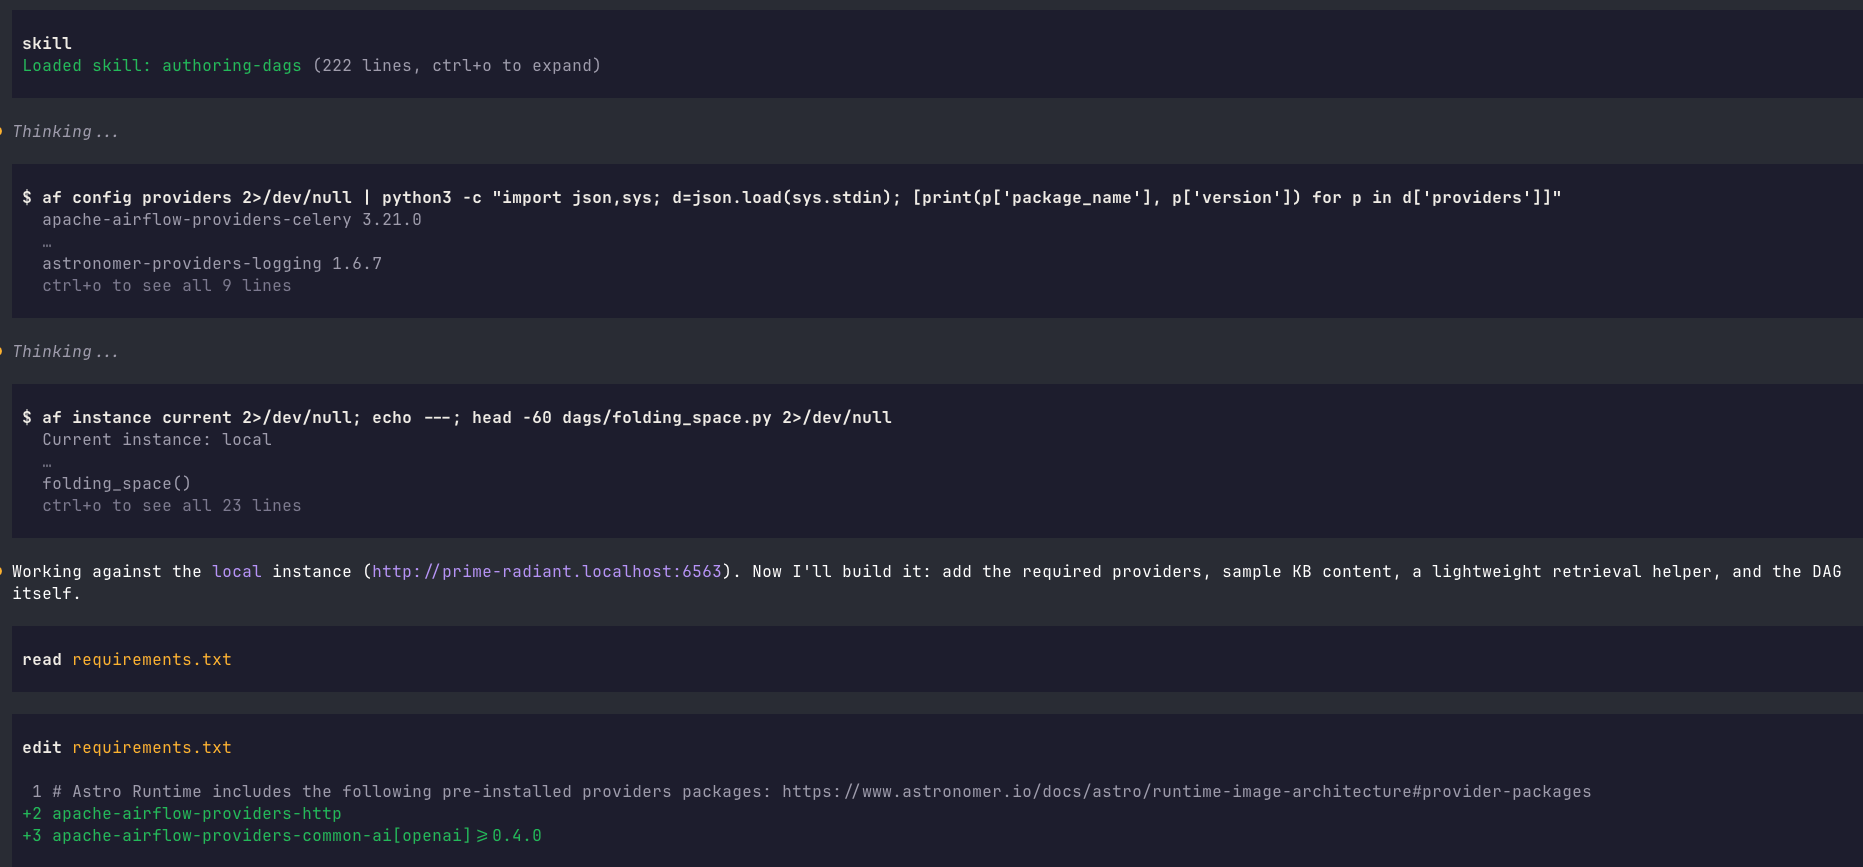
-
Go to
localhost:8080to inspect and run your Dag. Ask Otto to make any necessary changes.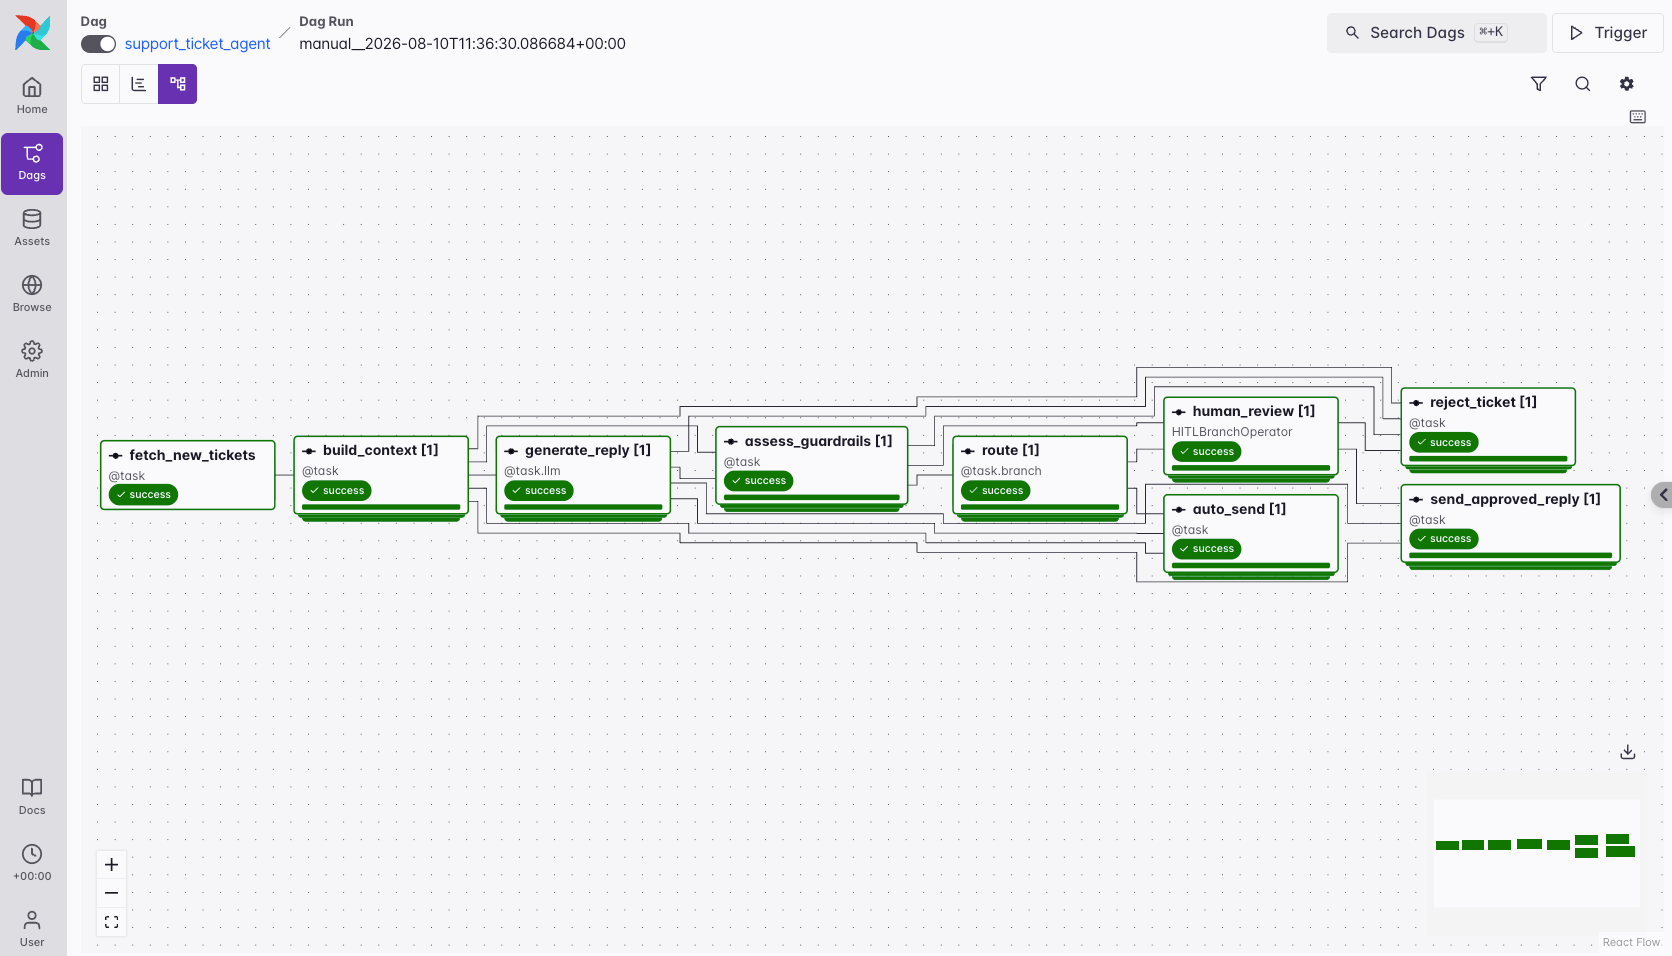
Delegate to Otto
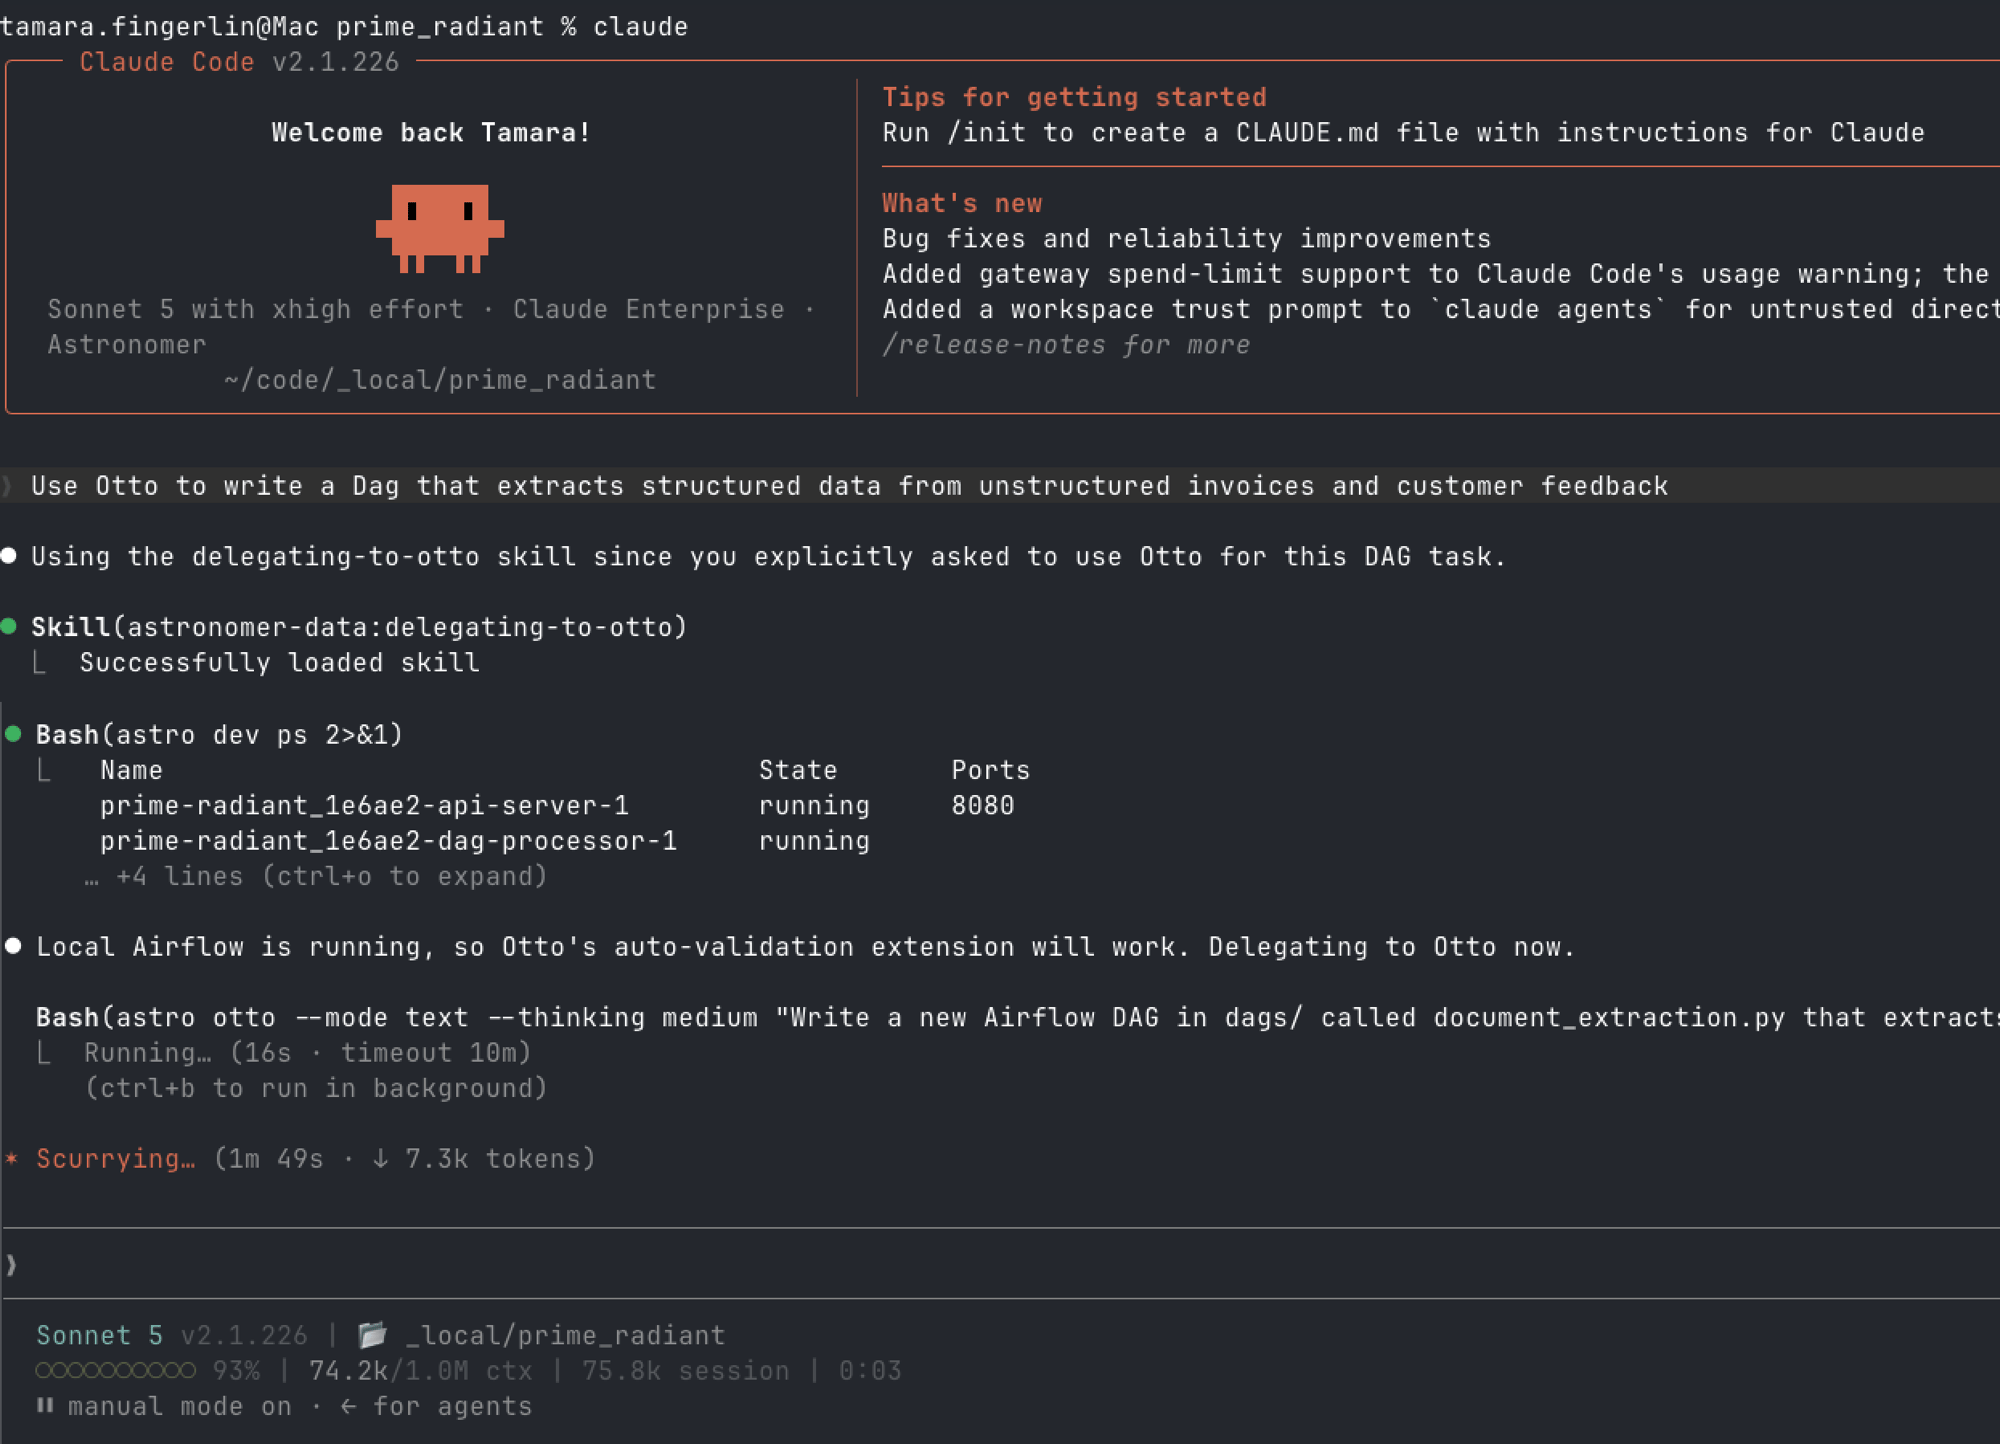
If you prefer to work from within your existing AI agent setup, such as Claude Code, you can still use Otto to develop your Dags by delegating Dag-writing related tasks to Otto.- Add the Delegating to Otto skill to your AI agent.
-
Now, whenever you mention “use Otto” or a similar phrase, your AI agent delegates the work to Otto, running as a sub-agent.
Using other coding agents
If you cannot use Otto, you can manually follow this section’s steps to improve the Dag-writing capabilities of your generic AI agent.Give your agent context
Since generic AI agents don’t have Otto’s skills assessing your Airflow environment, you need to give them this context explicitly. Relevant information includes your Airflow version, your provider versions, and the conventions your team has already settled on. See AI context for data engineering. With the context in place, use your harness’s planning mode, where the agent writes a plan without permission to edit any files. After you review and approve that plan, have it build a spec as described in the following section.Write the spec
Once you are happy with your agent’s plan, tell it to turn it into a structured spec. You can think of a spec like a skill or workflow to follow for a specific goal, in this case to write an Airflow pipeline. Some important considerations when writing a spec (or reviewing an AI-written spec) are:- Structure the spec with Markdown headings so the model works through requirements in a fixed order: goal, context, data contract (between tasks), and constraints.
- Instruct the agent to write a skeleton Dag first using
EmptyOperatorplaceholders for the task graph, then optionally stop to ask you to review the Dag structure before filling in the task logic. - Specify the format of the input and the output as well as the action you want performed. For example: input is a DataFrame with columns
xandy, output is a dictionary with fieldsaandb. - State idempotency requirements explicitly.
- Keep raw data separate from instructions. If the prompt includes an example payload, a schema, or sample output, wrap it in a fenced code block or an XML-style tag so the model doesn’t confuse the data with the instructions around it. Explicitly state that the example is a sample of the general structure.
Define success criteria
A spec only helps if you can check whether the agent fulfilled it. Before you ask an agent to write a Dag, decide what “done” means, ideally in the form of programmatic tests. Tests give you and the agent something concrete to check against, and they let an agent iterate independently. When using the Astro CLI, you can define tests in thetests directory and run them with the astro dev pytest command (independently of whether they use the pytest package or another testing framework such as unittest).
There are five main types of tests in Airflow:
- Parsing tests check whether the Dag parses correctly or results in an import error. Your agent can run one with
astro dev parse. - Unit tests check the logic in the Python functions an agent writes, such as a custom hook, a custom operator, or functions used in an
@taskorPythonOperatortask. Write these the same way you would for any Python code. See Unit testing for examples. - Dag validation tests define rules for your Dags, for example requiring
tagsto be defined, or only allowing specific operators or Dag schedules. See Write Dag validation tests. - Integration tests check that individual tasks work against the systems they talk to, rather than against mocks. Often the easiest way to run one is with a helper Dag that interacts with an external system, for example querying a few rows from a specific table in a database and checking the schema against what your Airflow tasks expect.
- End-to-end (E2E) tests run a whole Dag or a set of connected Dags. If your agent has access to the Astro CLI, it can trigger these itself to check its work. These Dag runs change data and incur cost in external systems; therefore, Astronomer recommends pointing your development environment at a development replica rather than at production.
Testing Airflow Dag code is a separate concept from testing the quality of the data orchestrated with Airflow Dags. For the latter, see Data quality and Airflow.
Safety
Before you let an agent iterate on its own, decide what it can do without you.- Decide which tools and commands your agent can run without asking. Allowlist safe commands such as parsing Dags or running tests.
- Decide which actions need your approval every time. Anything you can’t easily undo belongs here, along with anything that writes outside your project folder.
Let agents write in a loop
Once your spec, success criteria, and guardrails are in place, it is time to let the agent write your Dags while you grab a nice cup of tea. With tests defined, an agent can check its own output and only hand you a draft after its code passes the success criteria. The loop is the same one as in regular test-driven development: the agent writes code, runs a check, reads the result, and tries again until the check passes or until it hits a pre-defined timeout in terms of time or tokens spent.Agentic hooks
For Dags, the fastest check in that loop isastro dev parse, which catches import errors. Beyond the command permissions covered in Restrict agent commands, Claude Code and similar harnesses let you enforce this check automatically with a hook that runs after every file edit. A PostToolUse hook, for example, can run astro dev parse after every Edit or Write call and feed the result back to the agent for the next iteration.
Claude Code settings.json example
Claude Code settings.json example
The following
settings.json example shows this in practice for Claude Code: an allow list for a small set of low-risk commands, a PreToolUse hook that blocks destructive commands like rm -rf or DROP TABLE outright, and a PostToolUse hook that runs astro dev parse after every Edit or Write call and logs the result, feeding a pass or fail message straight back to the agent.The env and enabledPlugins entries enable a Python language server. This lets the agent see unresolved imports and type errors from the provider versions installed in your project.This example is for Claude Code. Other harnesses such as OpenAI Codex or Google Gemini CLI support similar automation, but with different configuration formats. See the relevant harness documentation for more information.
Example: Write an AI orchestration Dag
The following example shows a spec written with the structure from Write the spec, and the Dag an agent (Claude Code using Sonnet 4.6 with theastronomer/agent skills available) produced from that spec in a single pass.
Spec
Spec
Result
Result
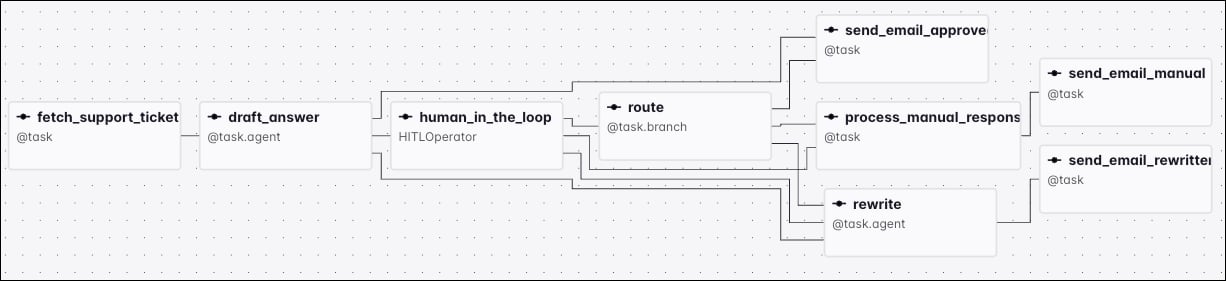
process_manual_response hardcodes the urgency to P2 for every manually written reply, regardless of what the reply says.