

Prerequisites
- The Astro CLI.
- The Azure CLI or access to the Azure web portal.
- An Astro project.
- (Optional) An Astro Deployment.
- A Microsoft Entra managed identity.
If you want to use Microsoft Entra Workload ID with a generic Apache Airflow project, your setup steps might vary. See Airflow documentation.
Get connection details
To create a workload identity for your Airflow environment, you first need to link your Airflow environment to your Entra ID managed identity. If you’re using Astro, follow the steps in Authorize Deployments to Cloud resources to create a workload identity for your Deployment. If you’re using Apache Airflow outside of Astro, your setup will vary based on your cloud and the environment you’re running Airflow in. Generally speaking, the setup will be similar to the following:- In your Azure portal, open the Managed Identities menu.
- Search for your managed identity, click Properties, then copy its Name, Client ID, Tenant ID, and Resource group name.
-
Run the following command to create a workload identity for your Airflow environment, replacing the
<managed-identity>and<resource-group>values with your managed identity Name and Resource group name respectively.
Create your connection
To create your connection in Astro, follow the steps to create a new connection in the Astro Environment Manager. Select the Azure workload identity connection type and enter your Client ID and Tenant ID. If you need to specify a Subscription ID for a specific service, you can open the More options dropdown menu and add it there.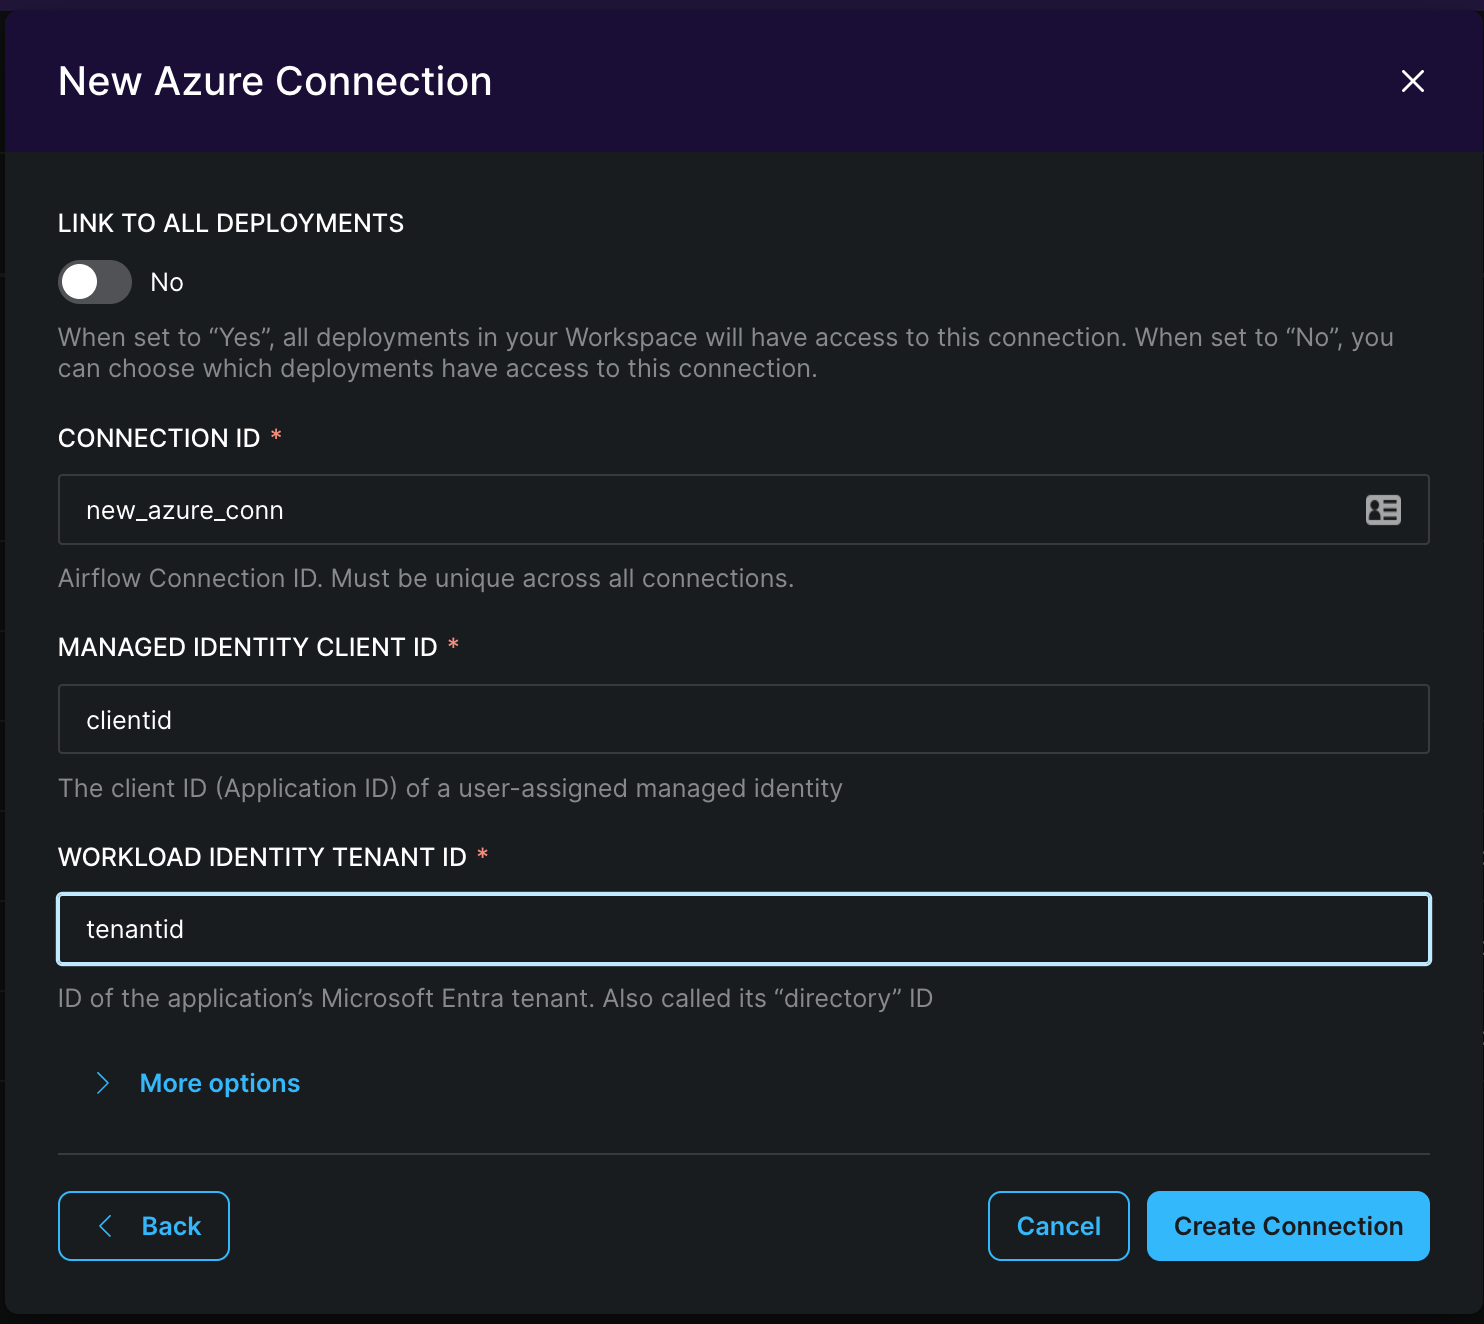
- In the Airflow UI, go to Admin > Connections.
- Click + to add a new connection, then select Azure as the connection type.
- Enter the
clientIdandtenantIdfields you retrieved from Get connection details and enter them into the Managed Identity Client ID and Workload Identity Tenant ID fields respectively. You can also specify asubscriptionIdfor a specific service if required. - Click Save.