Time to complete
This tutorial takes approximately 30 minutes to complete.Assumed knowledge
To get the most out of this tutorial, make sure you have an understanding of:- Ray basics. See the Getting Started section of the Ray documentation.
- Airflow operators. See Airflow operators.
Prerequisites
- The Astro CLI.
- A pre-existing Ray cluster. This tutorial uses a pre-existing local Ray cluster set up using kind as shown in the RayCluster Quickstart.
Step 1: Configure your Astro project
Use the Astro CLI to create and run an Airflow project on your local machine.-
Create a new Astro project:
-
In the
requirements.txtfile, add the Ray provider. -
Run the following command to start your Airflow project:
Step 2: Configure a Ray connection
For Astro customers, Astronomer recommends using the Astro Environment Manager to store connections in an Astro-managed secrets backend. These connections can be shared across multiple deployed and local Airflow environments. See Manage Astro connections in branch-based deploy workflows.
- In the Airflow UI, go to Admin -> Connections and click +.
-
Create a new connection and choose the
Rayconnection type. Enter the following information:- Connection ID:
ray_conn - Ray dashboard URL: Your Ray dashboard URL, for example
http://kind-control-plane:8265. - For this local tutorial, click the
Disable SSLcheckbox.
- Connection ID:
- Click Save.
If you are connecting to a Ray cluster running on a cloud provider, you need to provide the
.kubeconfig file of the Kubernetes cluster where the Ray cluster is running as Kube config (JSON format), as well as valid Cloud credentials as environment variables.Step 3: Write a DAG to orchestrate Ray jobs
-
Create a new file in your
dagsdirectory calledray_tutorial.py. -
Copy and paste the code below into the file:
- The
generate_datatask randomly generates a list of 10 integers. - The
get_mean_squared_valuetask submits a Ray job on Anyscale to calculate the mean squared value of the list of integers.
-
(Optional). If you are using the traditional syntax with the SubmitRayJob operator, you need to provide the Python code to run in the Ray job as a script. Create a new file in your
dagsdirectory calledray_script.pyand add the following code:
Step 4: Run the DAG
- In the Airflow UI, click the play button to manually run your DAG.
-
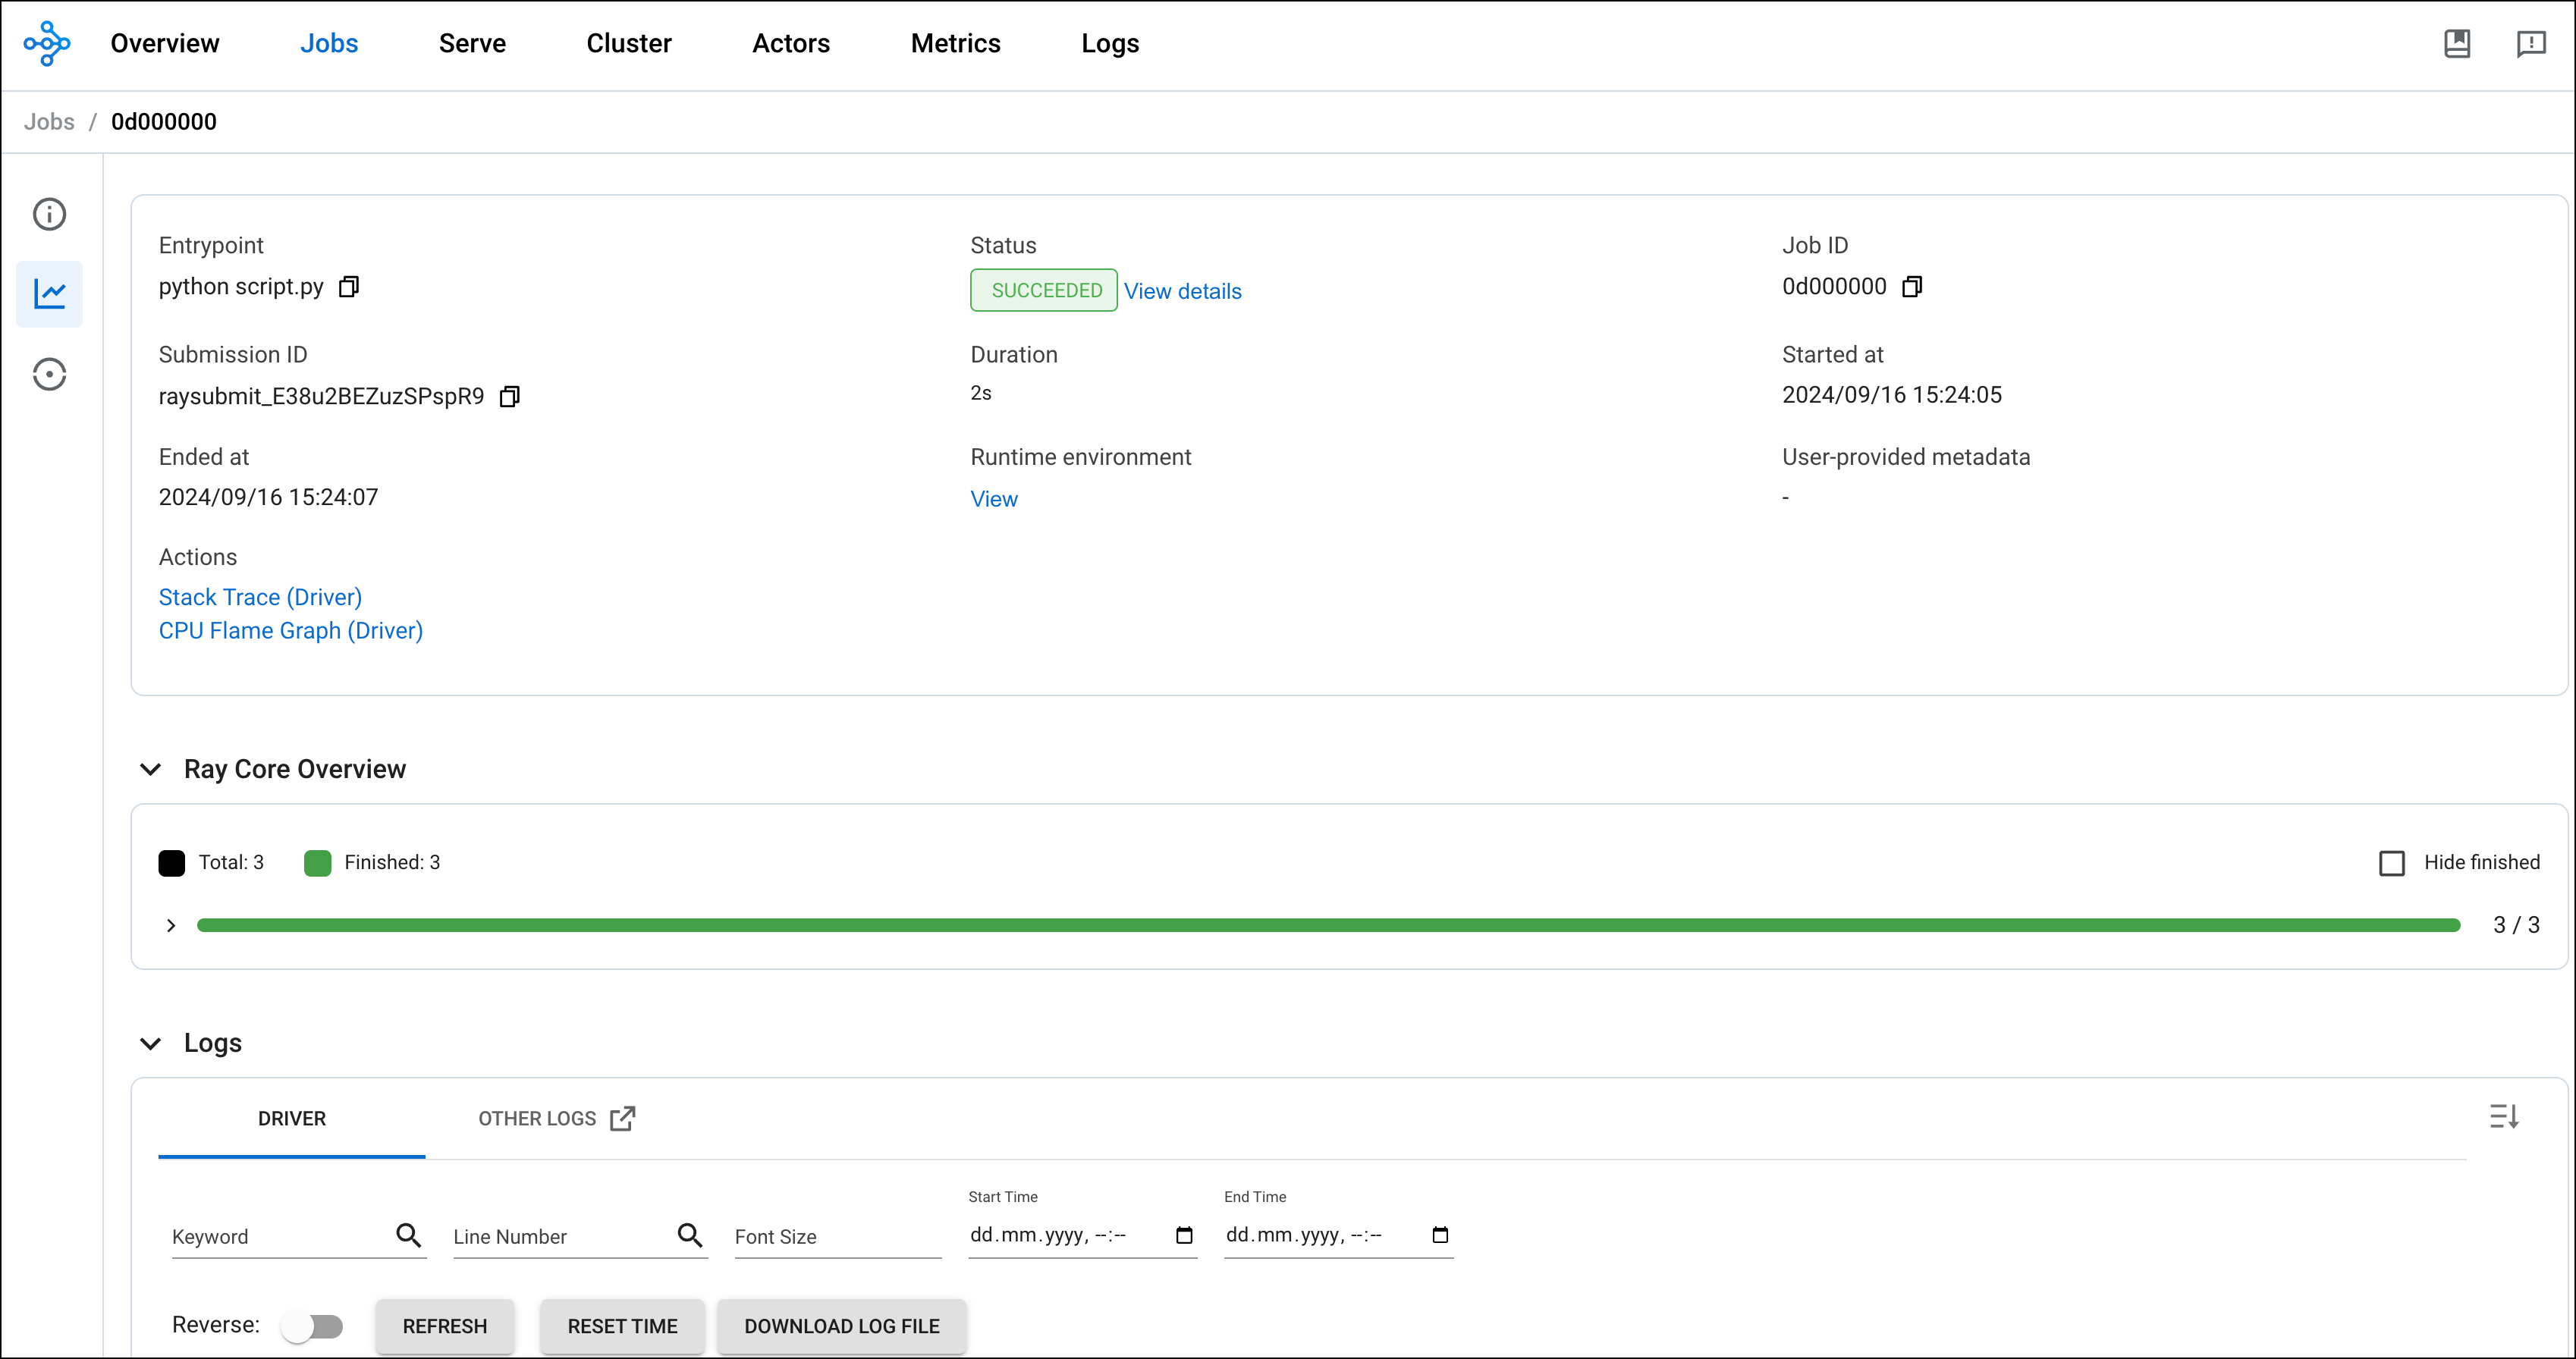
After the DAG runs successfully, check go to your Ray dashboard to see the job submitted by Airflow.