This tutorial was developed in partnership with Weights and Biases. For resources on implementing other use cases with W&B, see Tutorials.
Time to complete
This tutorial takes approximately one hour to complete.Assumed knowledge
To get the most out of this tutorial, you should be familiar with:- Airflow operators. See Operators 101.
- The Astro Python SDK. See Astro Python SDK documentation
- Weights and Biases. See What is Weights and Biases?.
Prerequisites
- The Astro CLI.
- A Weights and Biases account. Personal accounts are available for free.
Quickstart
If you have a GitHub account, you can get started quickly by cloning the demo repository. For more detailed instructions for setting up the project, start with Step 1.-
Clone the demo repository:
-
Update the
.envfile with yourWANDB_API_KEY. -
Start Airflow by running:
- Continue with Step 7 below.
Step 1: Configure your Astro project
Use the Astro CLI to create and run an Airflow project locally.-
Create a new Astro project:
-
Add the following line to the
requirements.txtfile of your Astro project:This installs the packages needed to transform the data and run feature engineering, model training, and predictions.
Step 2: Prepare the data
This tutorial creates a model that classifies churn risk based on customer data.- Create a subfolder called
datain your Astro projectincludefolder. - Download the demo CSV files from this GitHub directory.
- Save the downloaded CSV files in the
include/datafolder. You should have 5 files in total.
Step 3: Create your SQL transformation scripts
Before feature engineering and training, the data needs to be transformed. This tutorial uses the Astro Python SDKtransform_file function to complete several transformations using SQL.
-
Create a file in your
includefolder calledcustomer_churn_month.sqland copy the following code into the file. -
Create another file in your
includefolder calledcustomers.sqland copy the following code into the file.
Step 4: Create a W&B API key
In your W&B account, create an API key that you will use to connect Airflow to W&B. You can create a key by going to the Authorize page or your user settings.Step 5: Set up your connections and environment variables
You’ll use environment variables to create Airflow connections to Snowflake and W&B, as well as to configure the Astro Python SDK.-
Open the
.envfile in your Astro project and paste the following code. -
Replace
<your-wandb-api-key>with the API key you created in Step 4. No changes are needed for theAIRFLOW_CONN_POSTGRES_DEFAULTenvironment variable.
Step 6: Create your DAG
-
Create a file in your Astro project
dagsfolder calledcustomer_analytics.pyand copy the following code into the file:This DAG completes the following steps:- The
extract_and_loadtask group contains one task for each CSV in yourinclude/datafolder that uses the Astro Python SDKload_filefunction to load the data to Postgres. - The
transformtask group contains two tasks that transform the data using the Astro Python SDKtransform_filefunction and the SQL scripts in yourincludefolder. - The
featurestask is a Python function implemented with the Astro Python SDK@dataframedecorator that uses Pandas to create the features needed for the model. - The
traintask is a Python function implemented with the Astro Python SDK@dataframedecorator that uses scikit-learn to train a Random Forest classifier model and push the results to W&B. - The
predicttask pulls the model from W&B in order to make predictions and stores them in Postgres.
- The
-
Run the following command to start your project in a local environment:
Step 7: Run your DAG and view results
-
Open the Airflow UI, unpause the
customer_analyticsDAG, and trigger the DAG. -
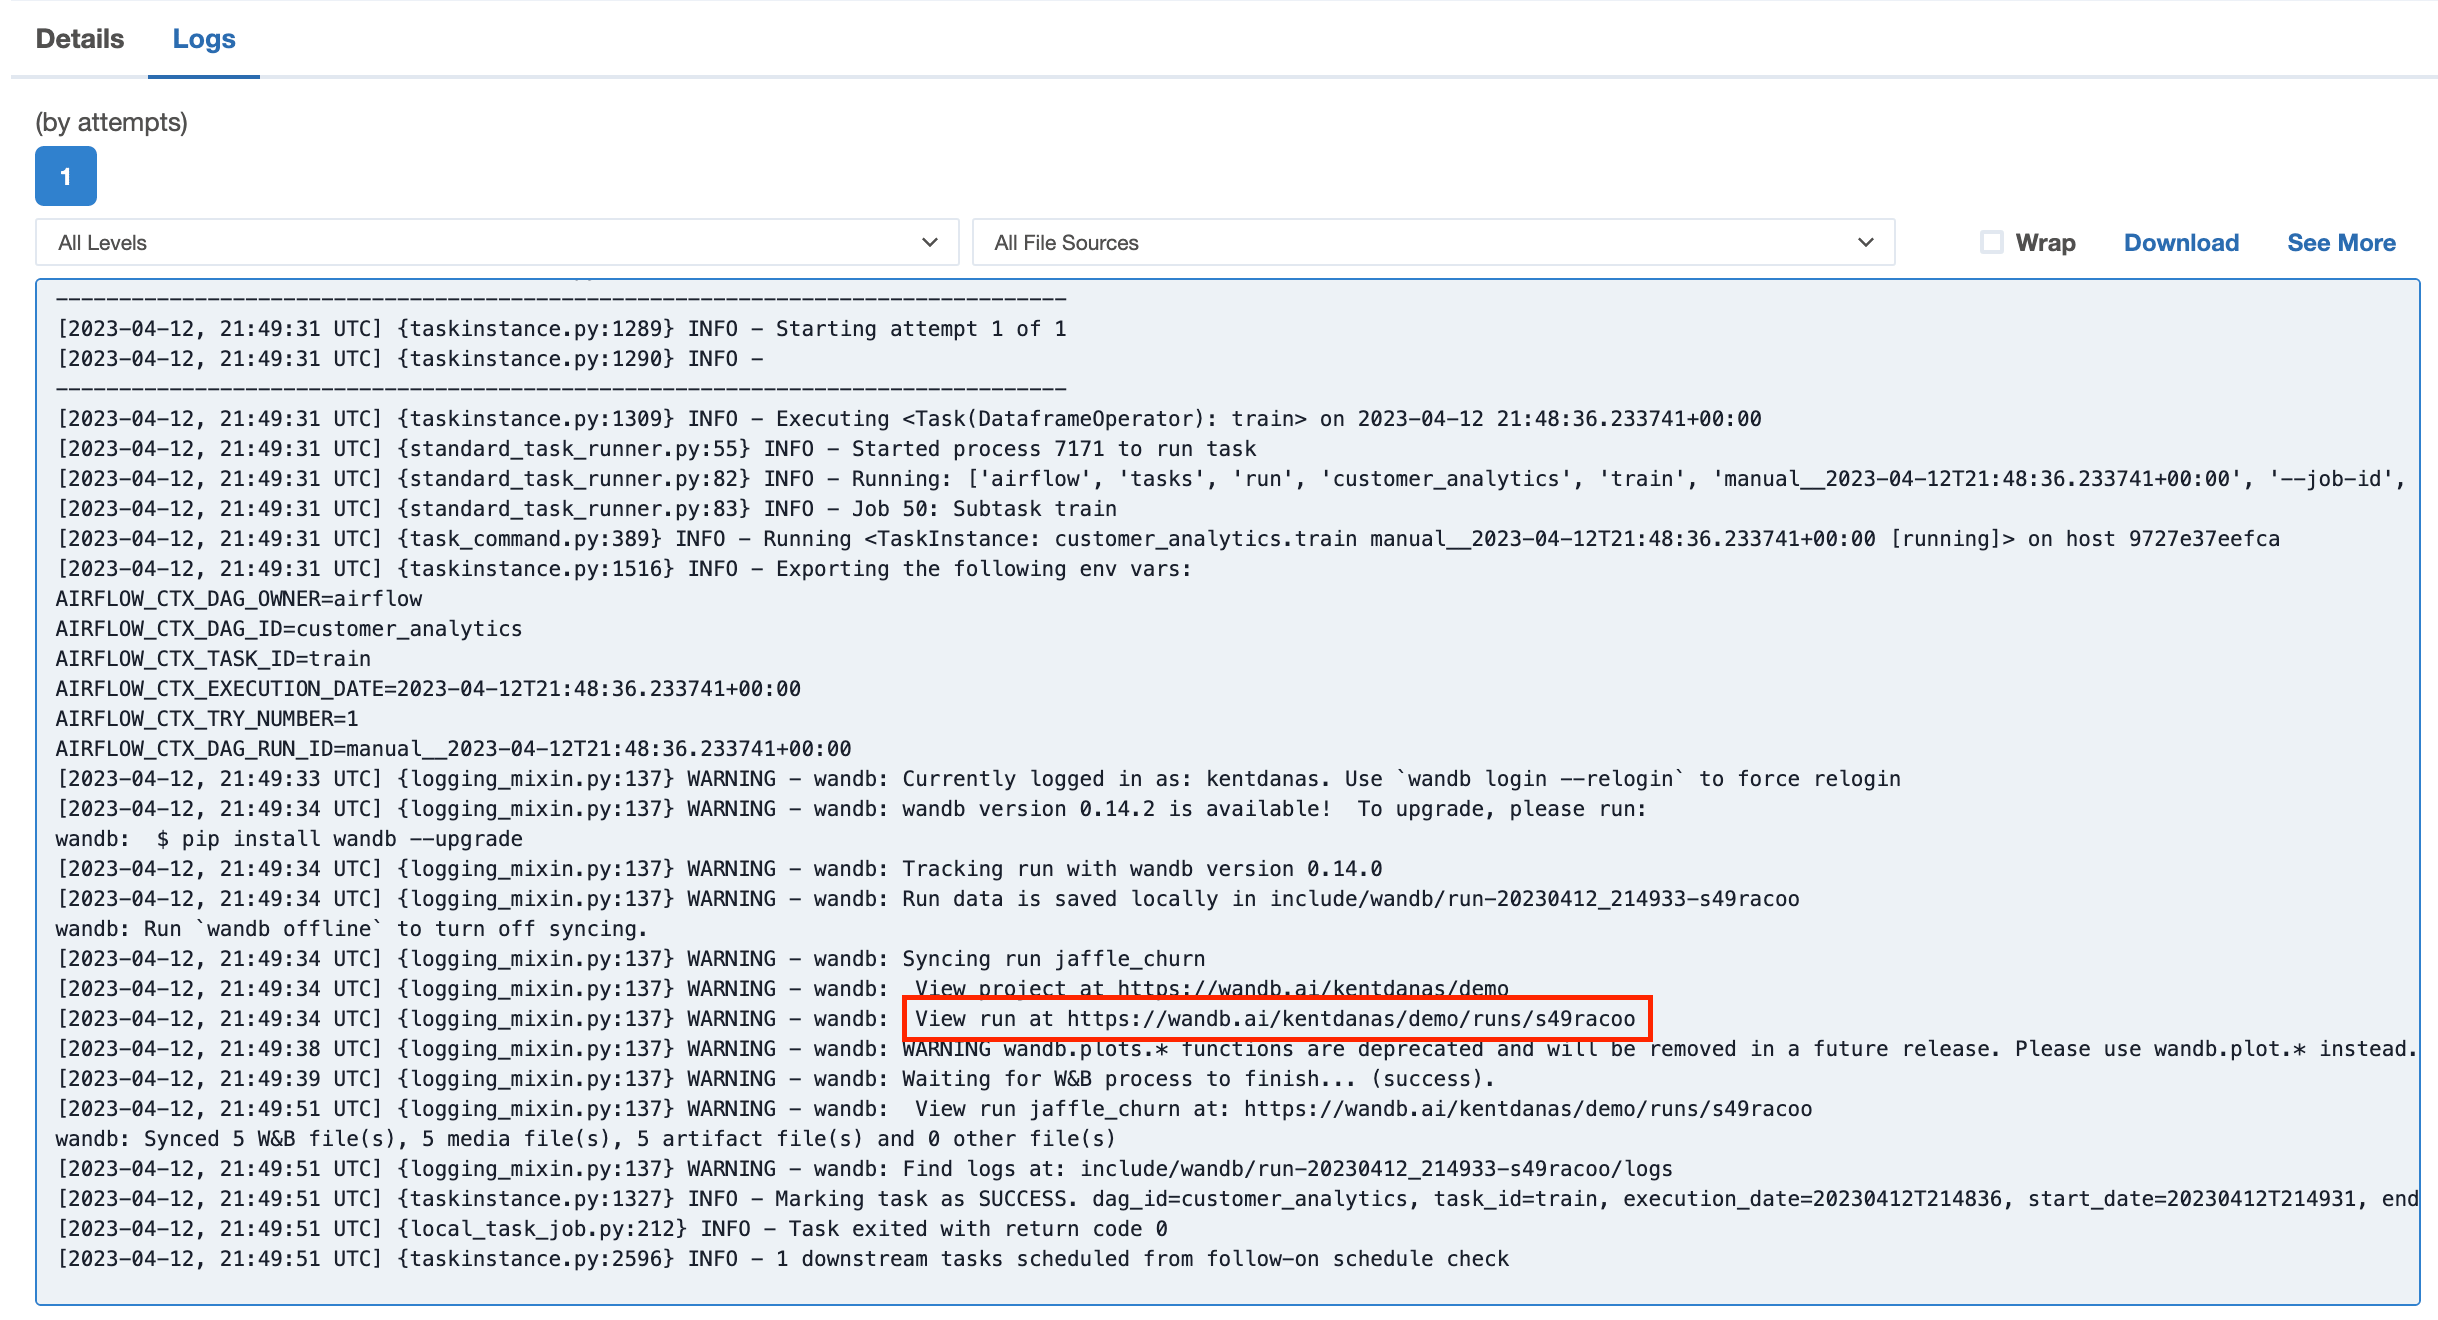
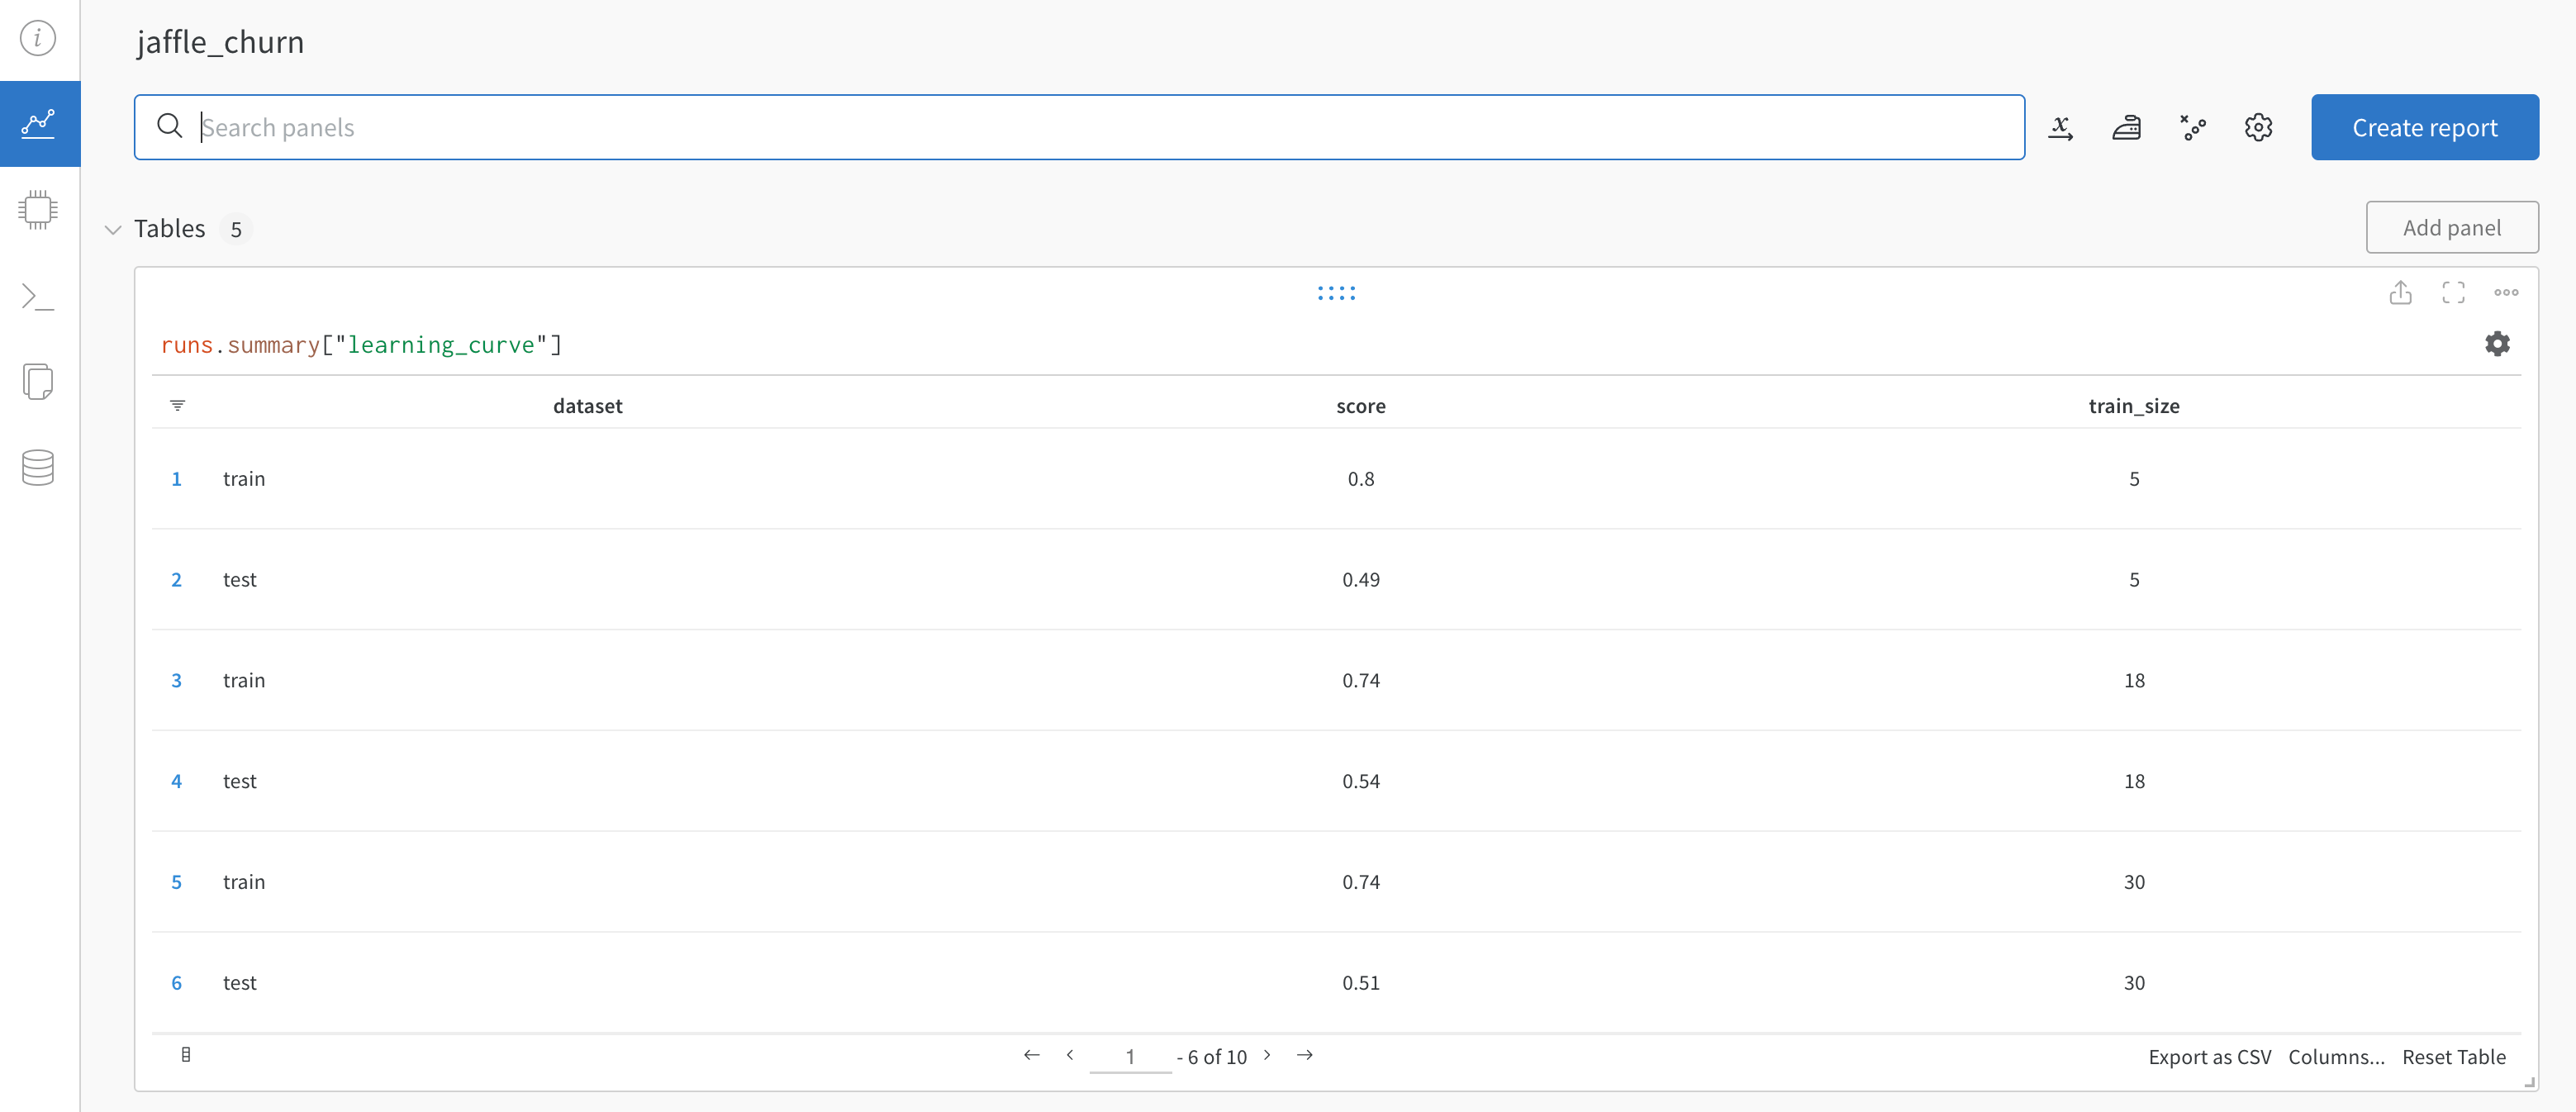
The logs in the
trainandpredicttasks will contain a link to your W&B project which shows plotted results from the training and prediction.Go to one of the links to view the results in W&B.